After a recent farmers’ market trip, I found myself in possession of a 6-inch spaghetti squash. I had heard quite a few good things about this vegetable including how easy it is to cook. Well, I can now vouch that the hearsay was extremely accurate!
For my first spaghetti squash recipe, I decided to use it as a healthy substitution in an obvious but classic recipe: Spaghetti and (Chicken) Meatballs! I wanted this recipe to be super DUPER easy so I used seasoned ground chicken for the meatballs, and boxed (aka jarred) sauce. Check out this easy recipe!
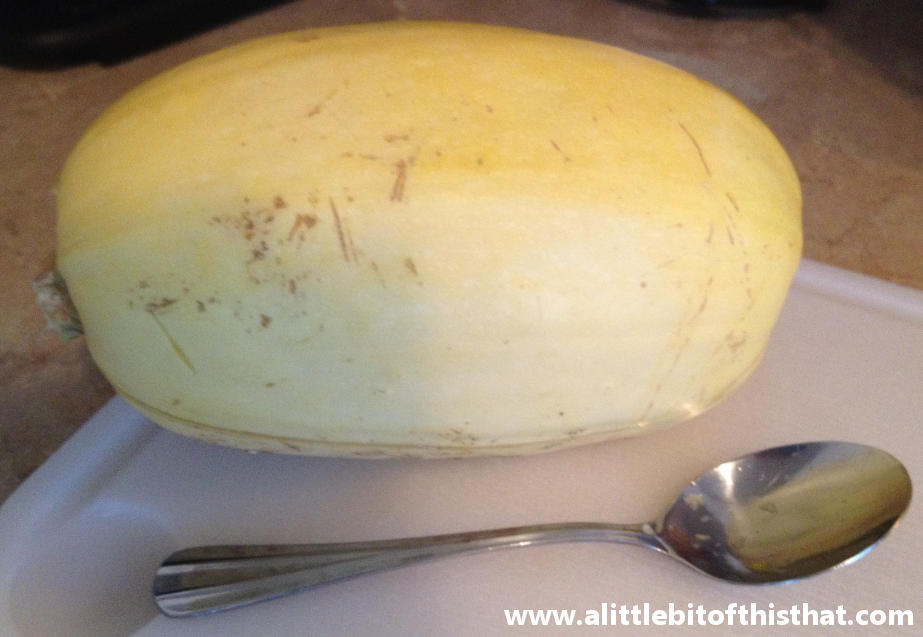
This squash size was just fine to feed two people!
Ingredients (Makes 2 servings)
1 Medium Spaghetti Squash
1 Jar of Sauce
2 TBS Parmesan Cheese (plus additional for topping, if desired)
1 LB seasoned ground chicken
1/2 cup breadcrumbs
Garlic Powder
Italian Seasoning
(OPTIONAL: Bread, butter and garlic for a side of garlic bread)
Directions:
1. Cut the squash lengthwise and scoop out the seeds.
2. Line a cookie sheet with aluminum foil. Place squash face up, and brush all sides with olive oil. Sprinkle salt on the top.
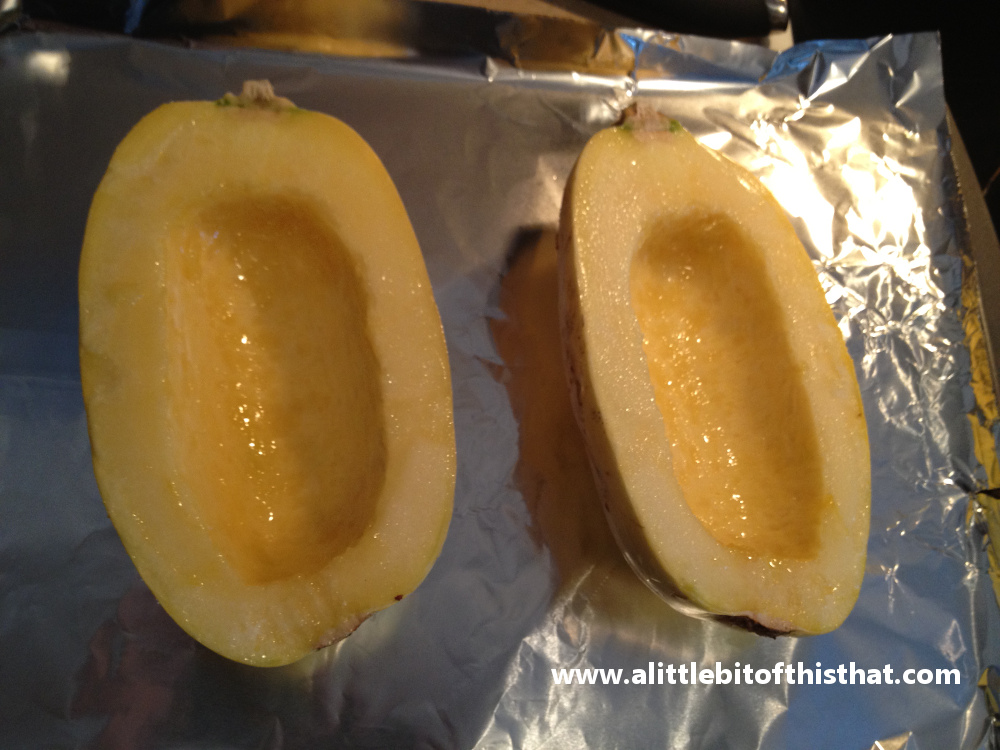
Seeds are scooped out, squash is face side up and brushed with olive oil and some salt. 🙂
3. Cover tightly with aluminum foil and bake at 350°F for 20 minutes. Remove foil, then bake for an additional 15 minutes.
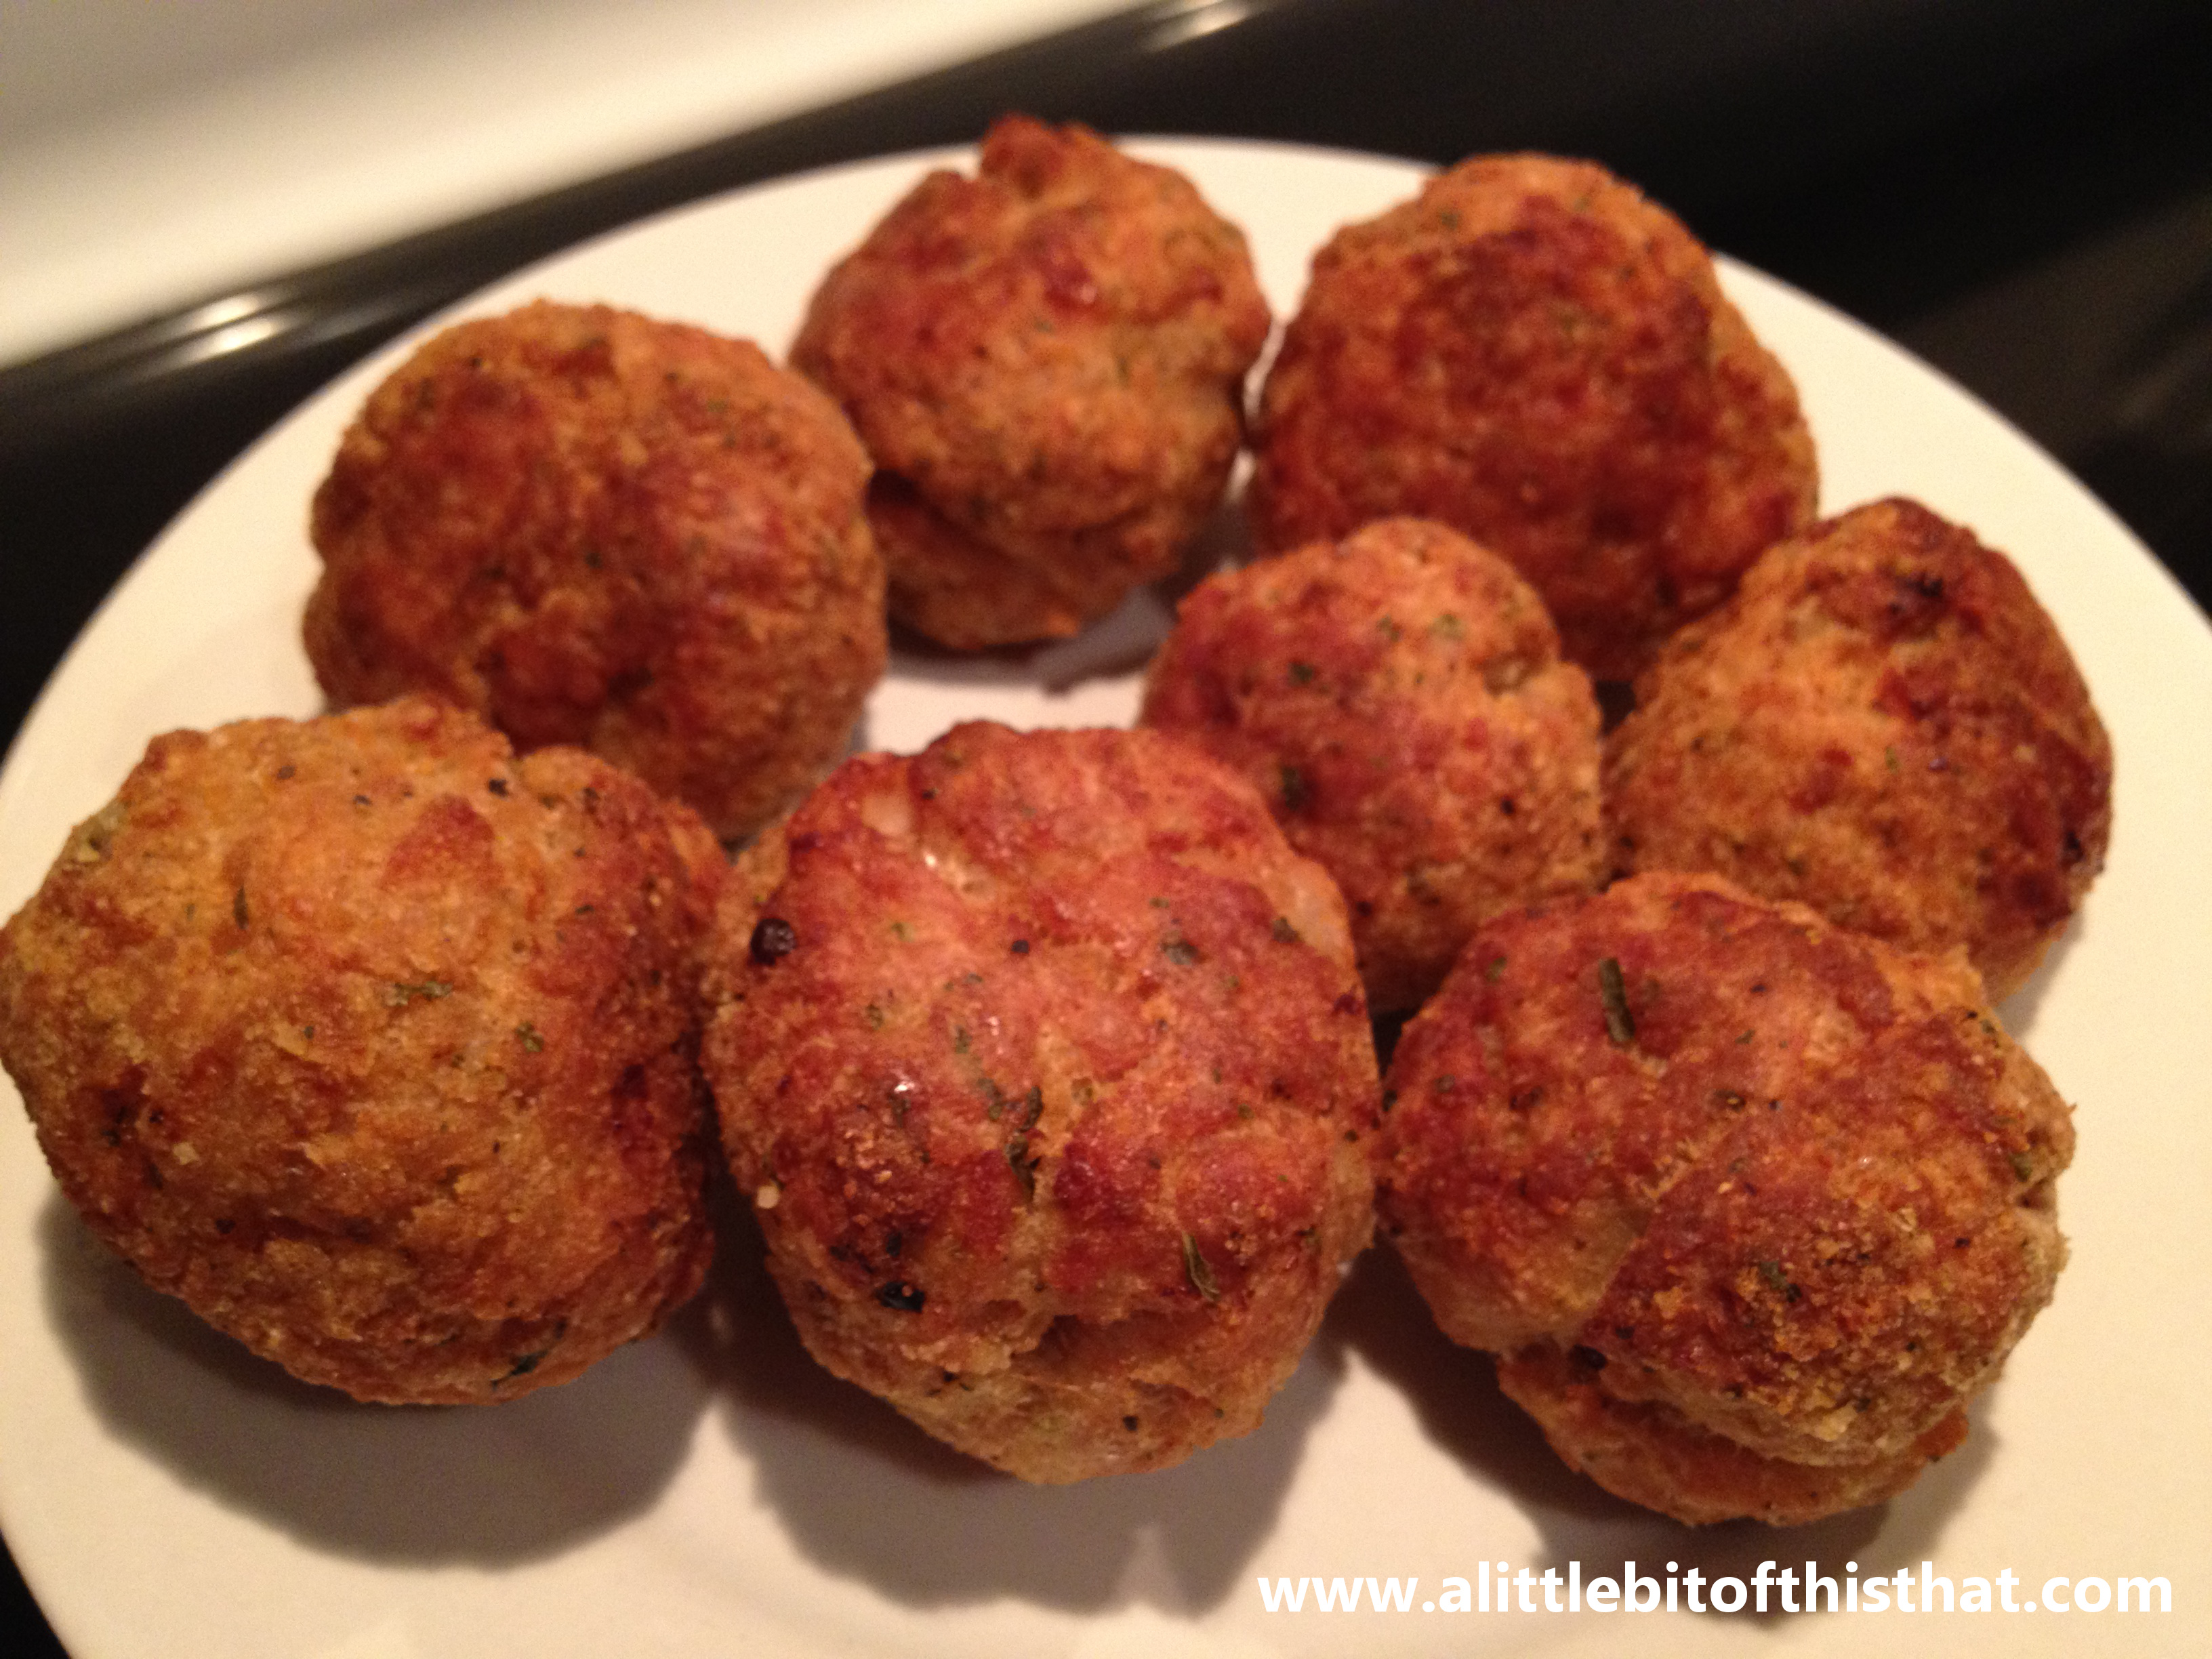
4. Meatballs: While the squash is cooking, combine the chicken with breadcrumbs (we also added extra garlic powder) and form into about 1″ meatballs.

5. Cook the meatballs on another lined cookie tray in the same 350°F oven. They will take about 20 minutes to cook. Be sure to rotate them so each side browns evenly. I usually forget that they are chicken instead of red meat!
6. Garlic Bread: If you are choosing to make some garlic bread with your meal, now’s a good time to simply brush the bread with some butter, and add some garlic powder and/or additional Italian seasonings. Just hold that off to the side and heat it up in the oven about 10 minutes before you will serve your meal.
7. Sauce: Get your sauce heating up on the stove – keep it simmering on a low temperature so it doesn’t boil and pop! Once again, we also added extra garlic powder and Italian seasonings.

I used this boxed “Pomi” sauce in a tomato and basil flavor. You can find Pomi in a supermarket but I got mine free as a promotion. The company sponsors a cooking show, Real Food, on Telecare, the TV station that I work at. 🙂
8. If you are timing right, it’s probably spaghetti squash time! This part was so much fun. With a fork, you simply scrape the inside meat of the squash. The more you scrape, the more “spaghetti” you will be left with.
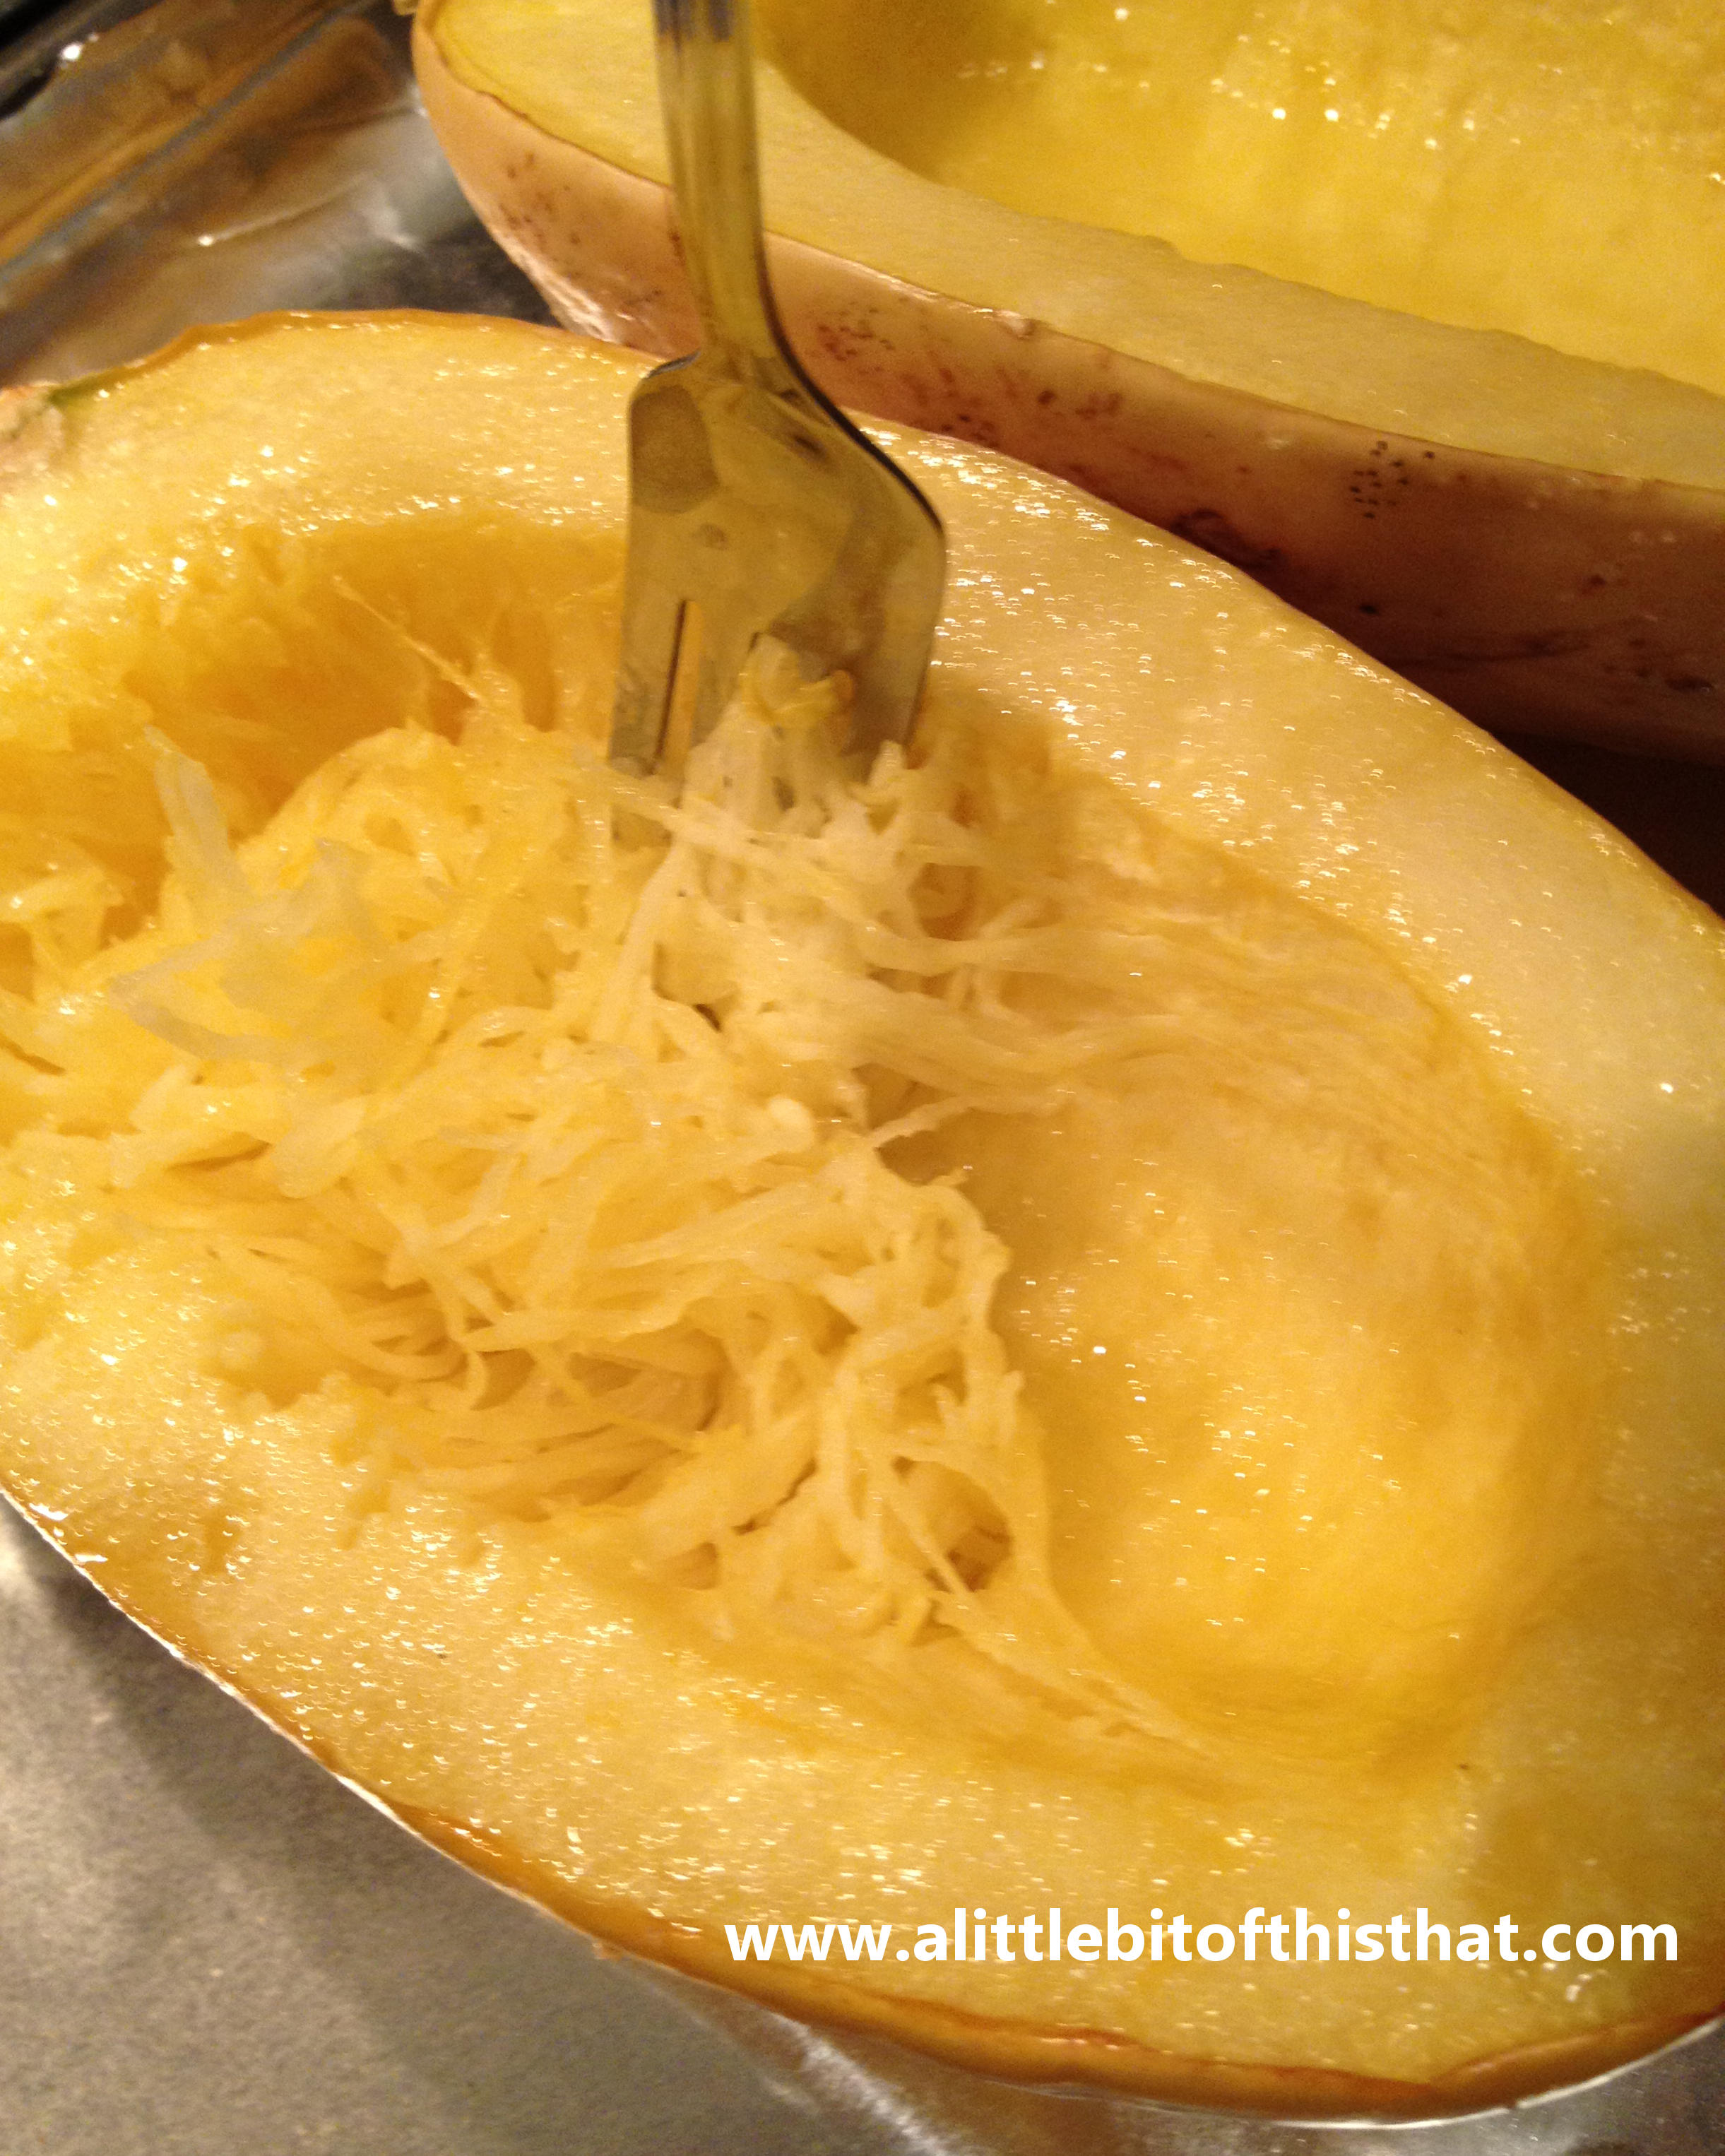
This part was the most fun!
9. Place the “spaghetti” in either a large communal bowl, or individual bowls ready to serve. Toss with 2 TBS of Parmesan cheese.
10. Take out your meatballs from the oven, too! They should be nice and browned.
11. Put it together! Put your desired amount of meatballs on top of your pasta and cover with sauce. Add a piece of garlic bread and you are good to go!
I thought this meal was delicious. It was such a simple way to sneak extra veggies into dinner, and stay away from pasta! If you are questioning why I chose to add bread when I had just saved myself the calories from pasta, well, this wasn’t just any old bread. In my blog post about my trip to the farmers market this weekend, you’ll see that Patrick and I picked up a wonderful smelling loaf of onion bread. We just simply had to have some with this meal, so we sliced just a little bit off and it was worth every calorie. 😉
If you haven’t yet tried spaghetti squash (I mean, how cool is this vegetable?!!), then like me, I think it’s time you pick one up and give it a whirl! It was fun to both make and eat and I am looking forward to trying lots of new recipes with spaghetti squash.
Happy cooking!
❤ Jessi