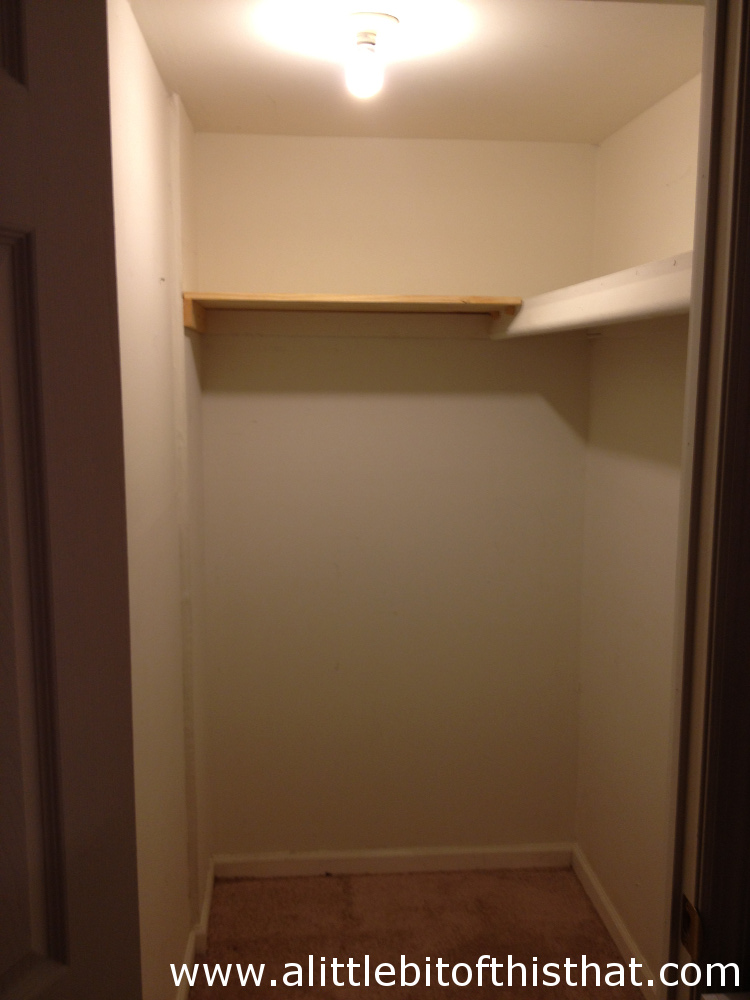
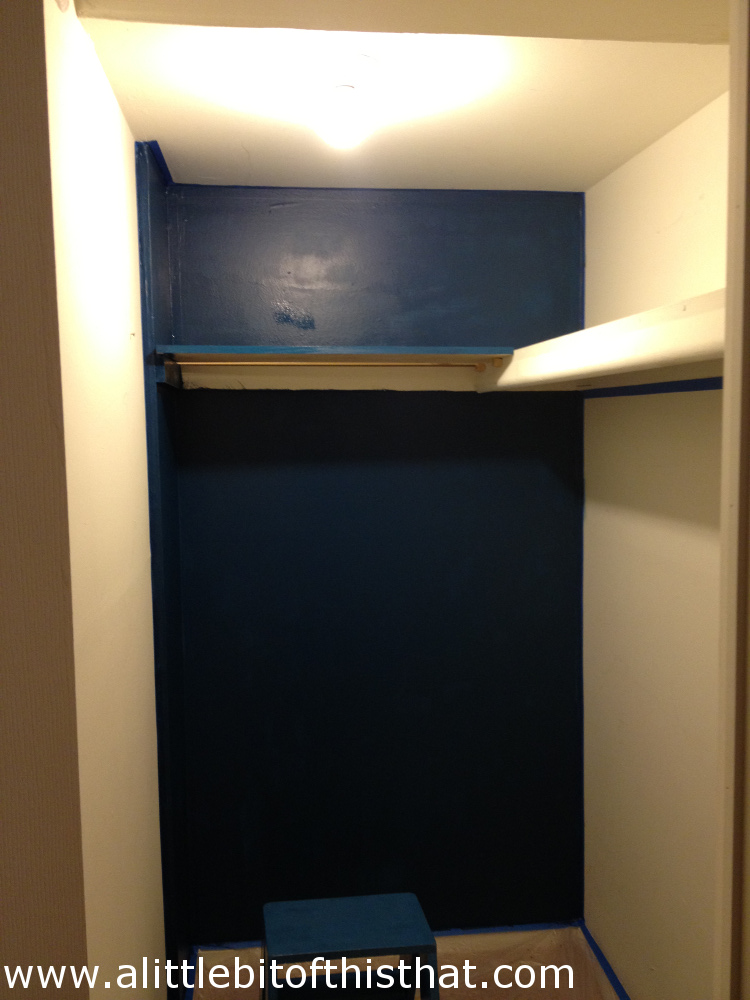
If you follow my blog (or you are my mom AKA my biggest fan) then you may have seen my post last week about my goal to organize my walk-in closet. Well, even with summer winding down and the inevitable attempt to squeeze in as much fun and summertime memories as possible before the temperature begins to drop, I managed to make some sense out of the scary room known as my closet.
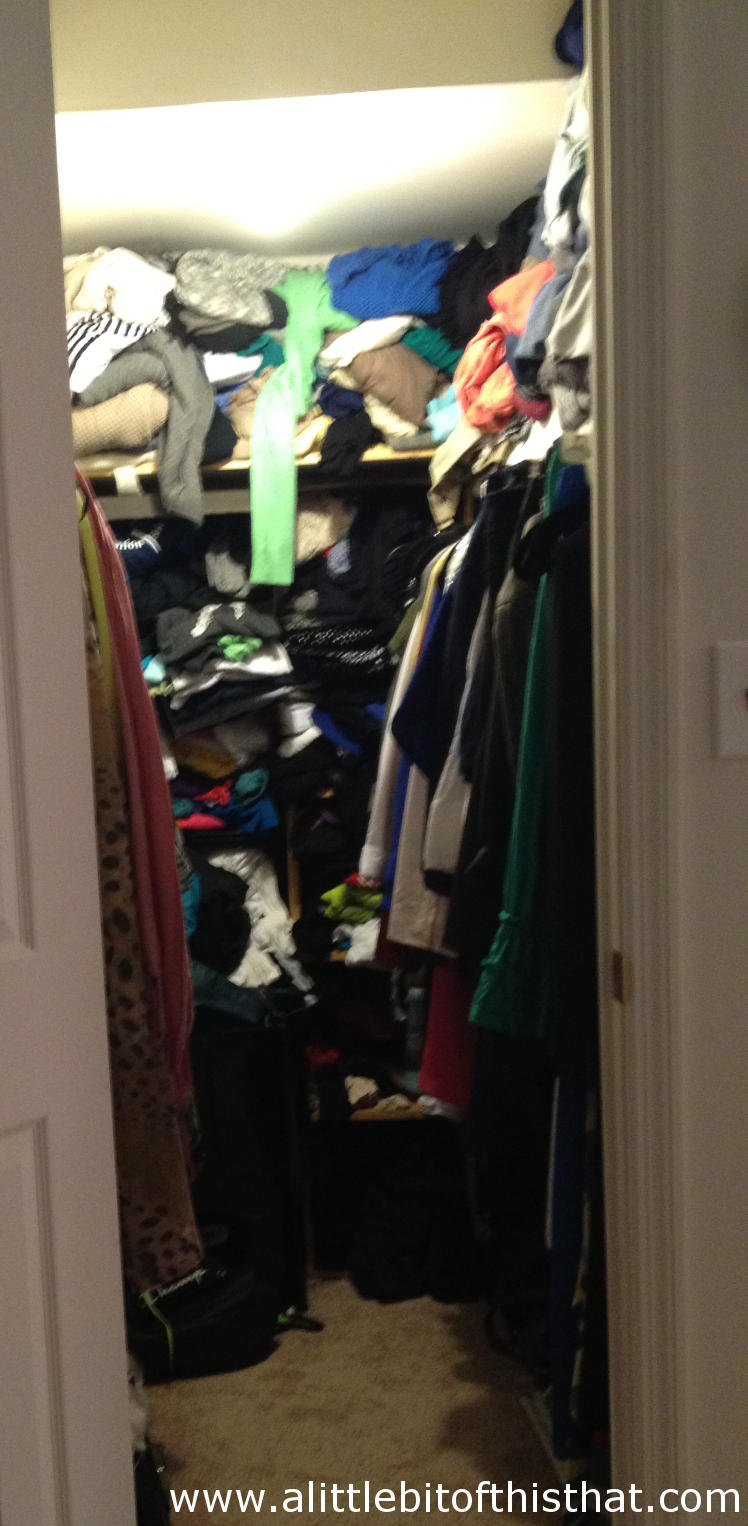
Are you ready for the before and after photo? Here… it… is!!!
 As I mentioned a few time in my first post, my goal was to create a boutique-like feel so that choosing an outfit to wear each day would be an exciting, not a terrifying experience! There were a few things that I concentrated on to attempt this:
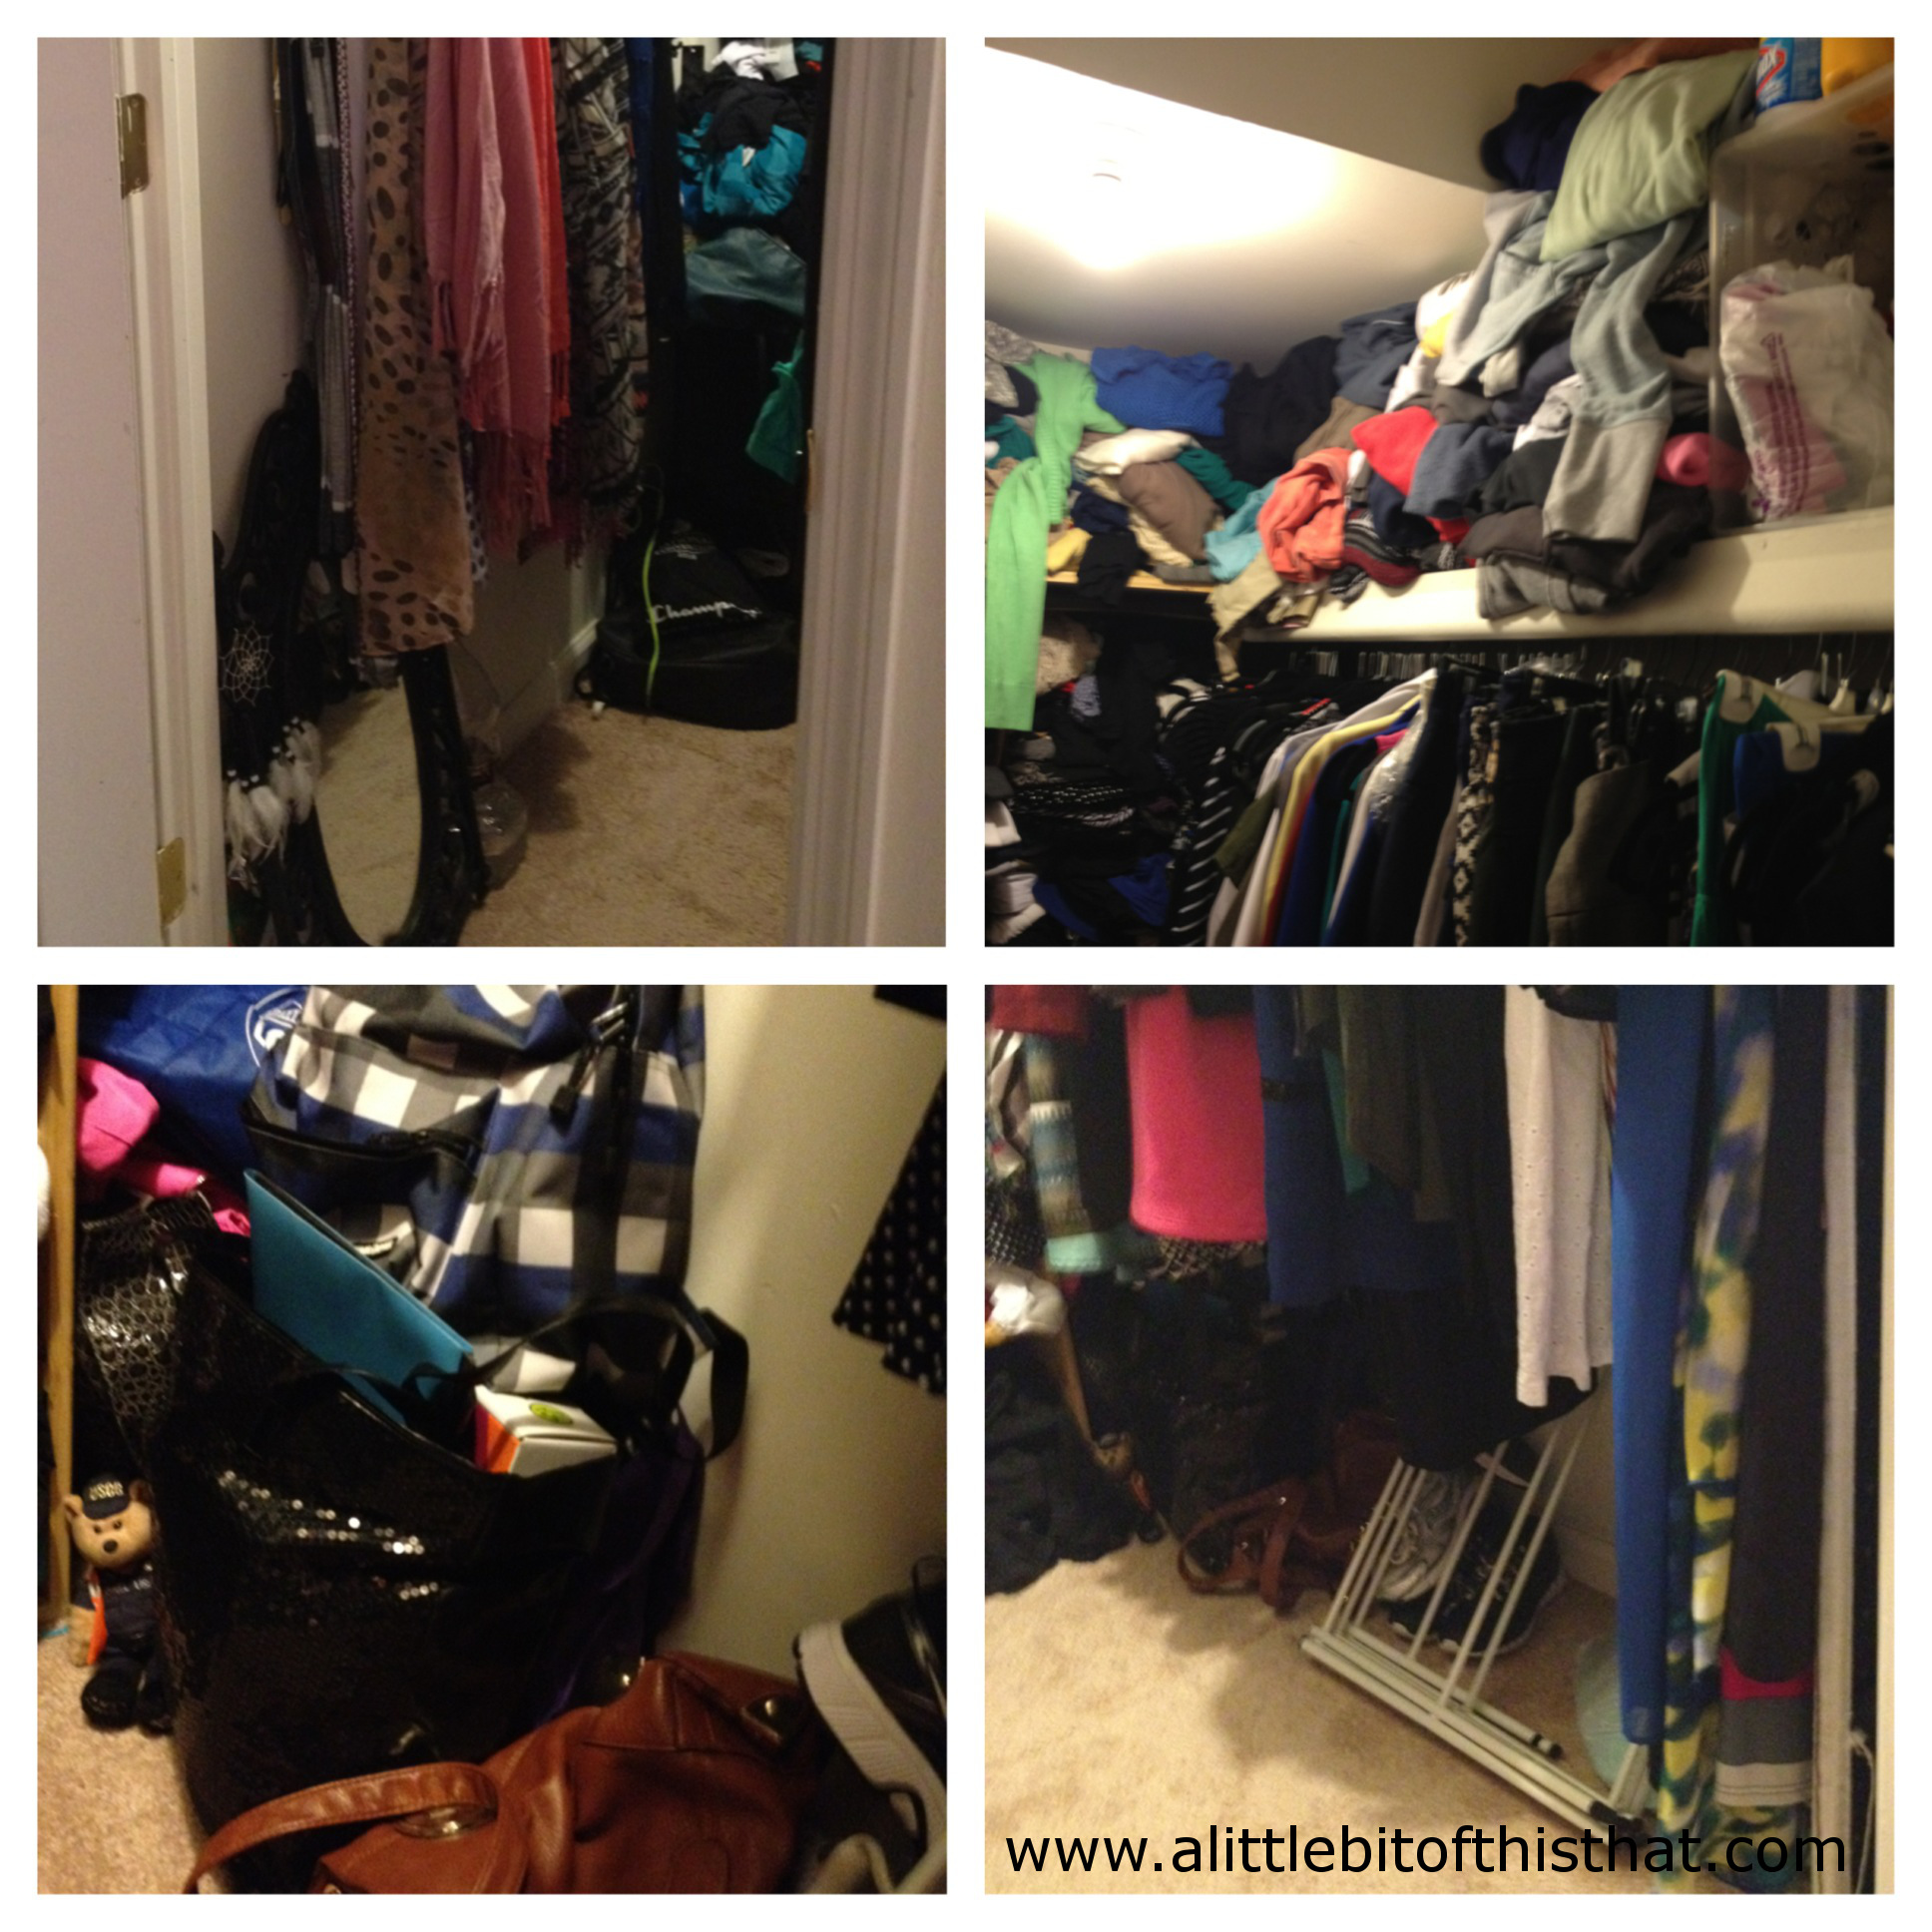
1) My mom’s golden rule of thumb to organization: “Like” things with “Like” things. This is, at its simplest, a rule that means put your sweaters with your sweaters, your pants with your pants, etc. so that you can find everything when you are looking for them. While I always had this sort of categorizing system (look! the sweaters are all up top! lol) , it still didn’t make sense when it came to the actual process of getting dressed because there would be no instance where I needed a sweater at the same time I needed a zumba tank top. I had moved into the apartment and simply needed space to store everything… so I put my exercise clothes and bedtime shirts in the same area as my dresses and blazers. Meanwhile, my pants were in a completely different location. What, you say? Exactly. It was confusing for me too.
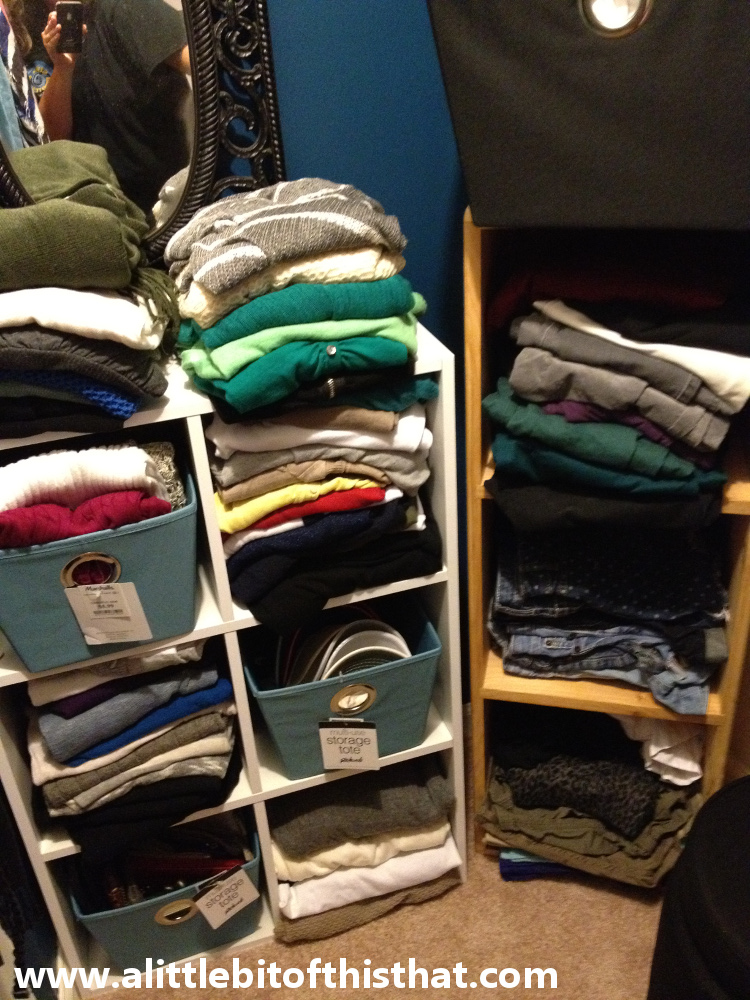
By bringing my pants into the closet (finally), I am able to grab a sweater from the left, and pants from the right. All of my skirts are also in this closet now. Magic!
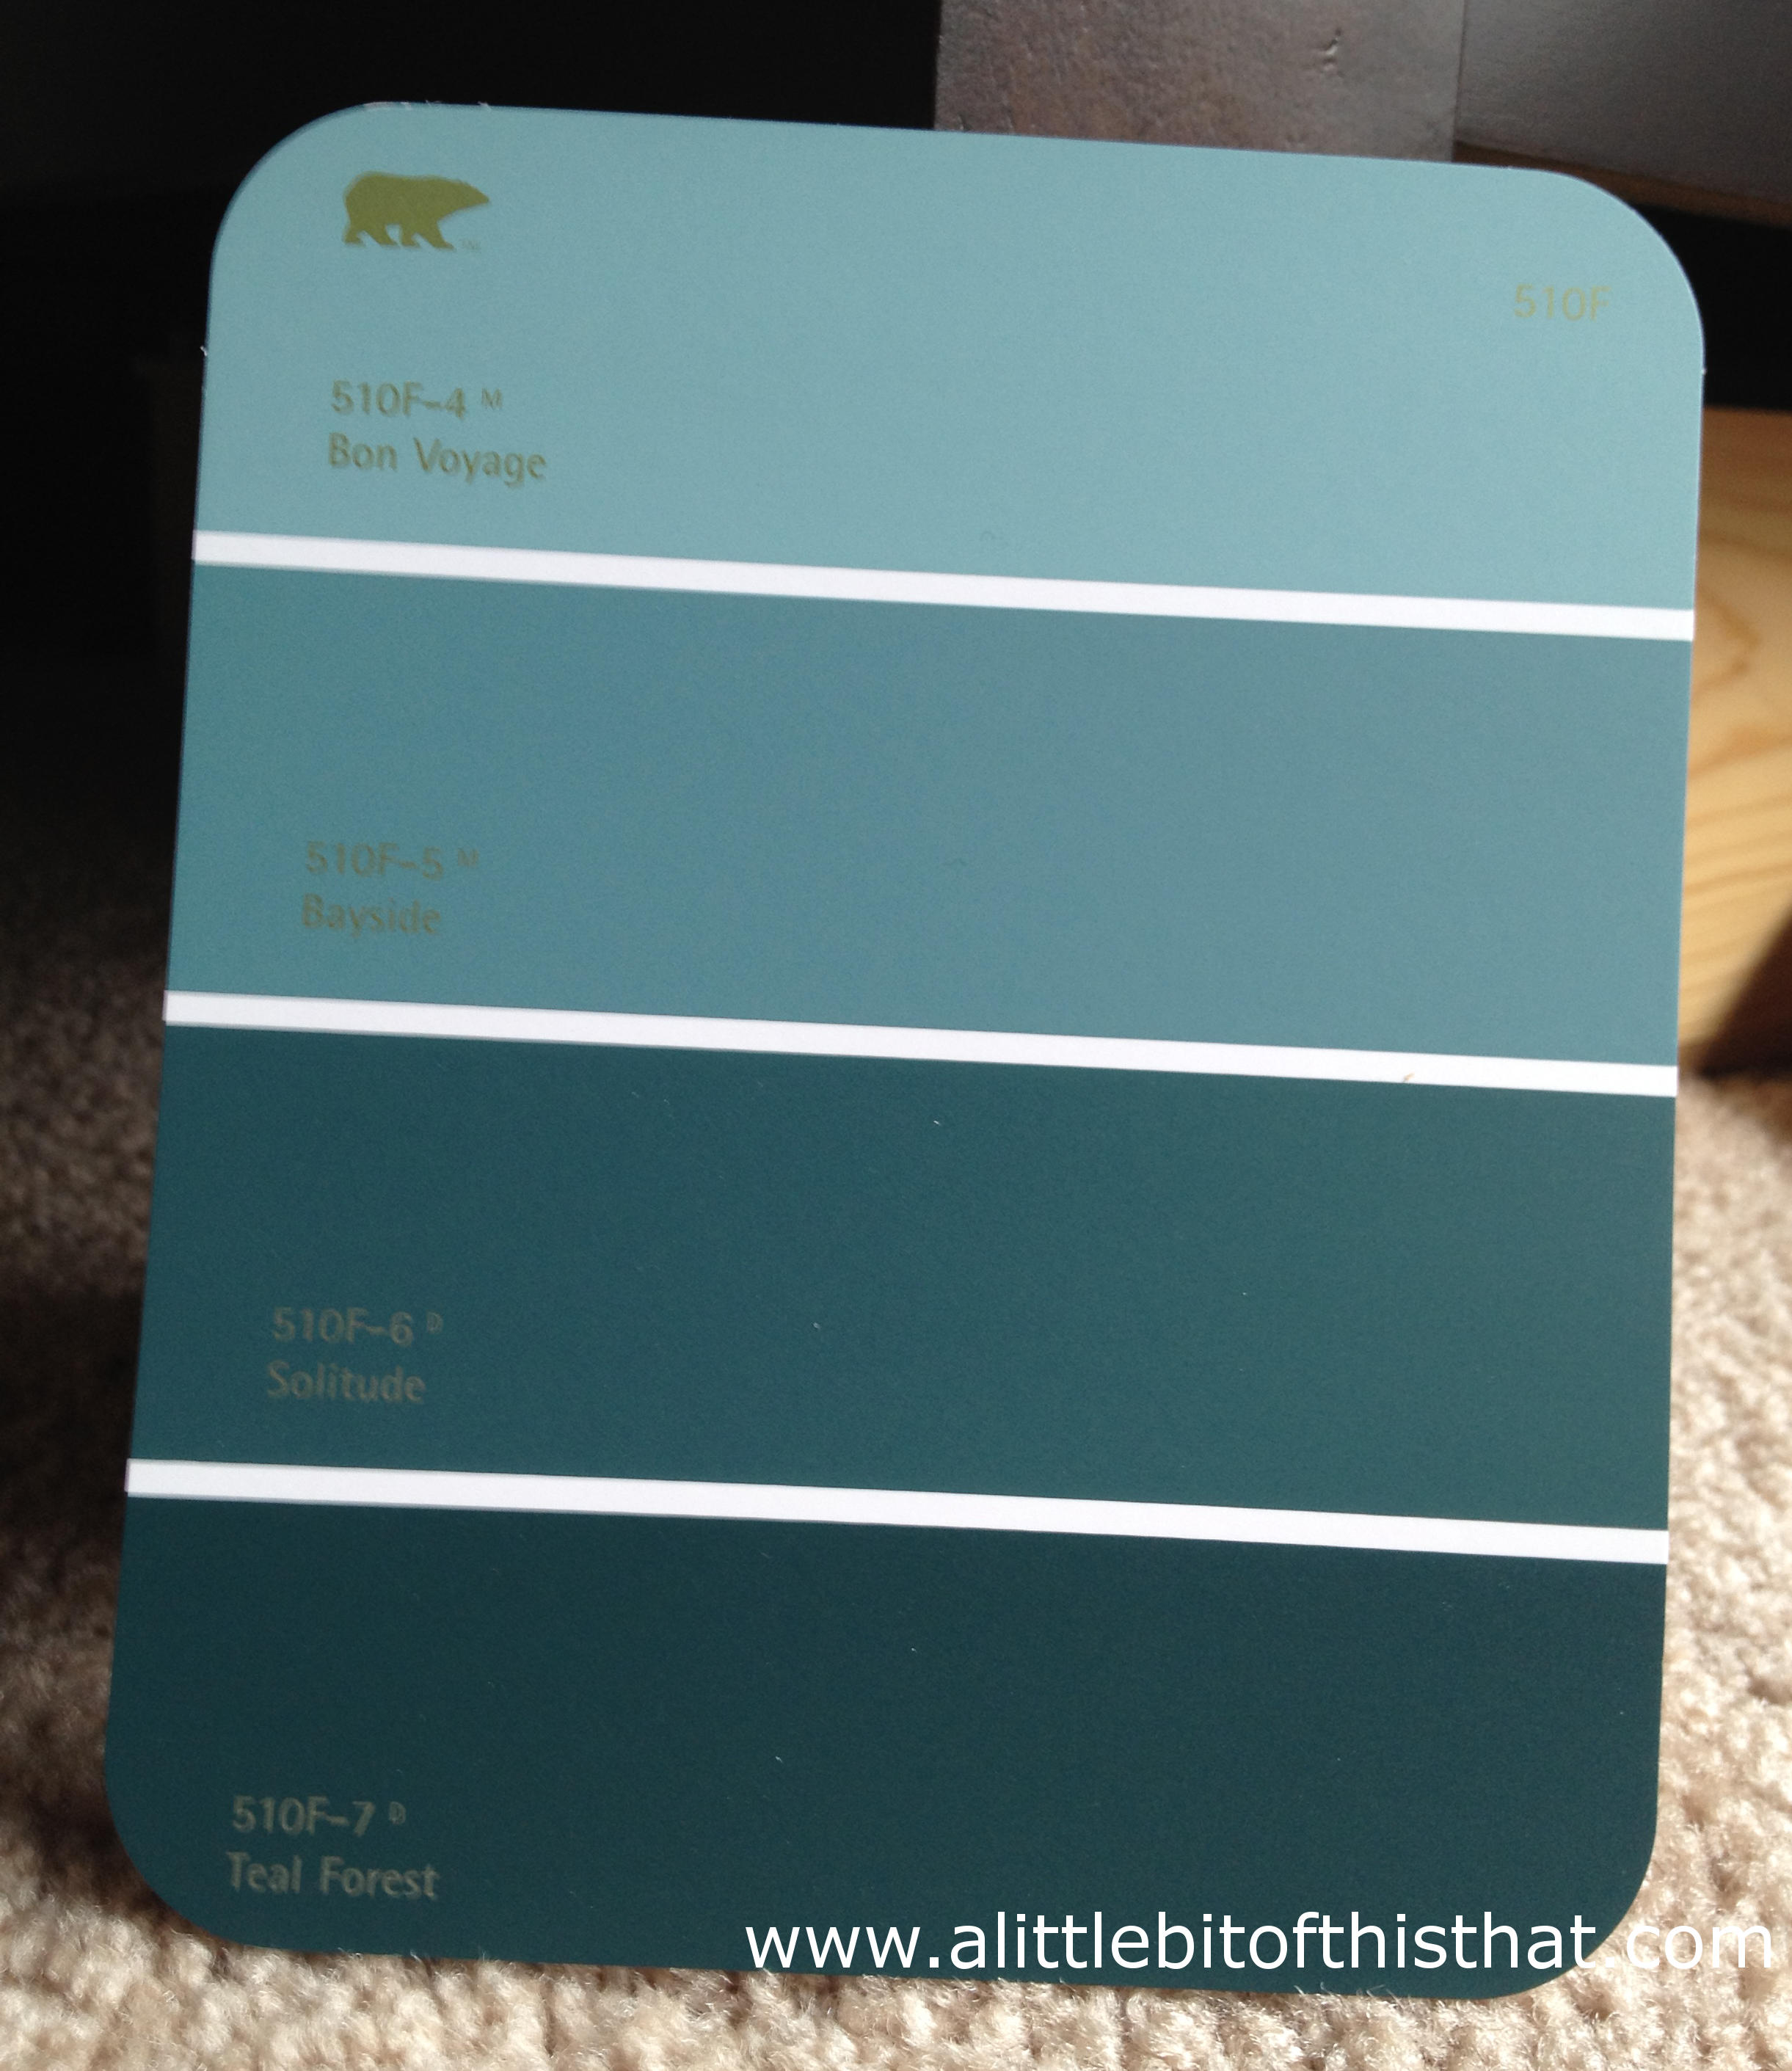
2) A light to dark color scheme is always appealing to the eye, and makes certain items easier to find! I organized my belts and my scarves according to their color, and while you can only tell by looking very closely at the “after” photo, my tops hanging on the right are also organized in the same fashion, and by sleeve length as well!
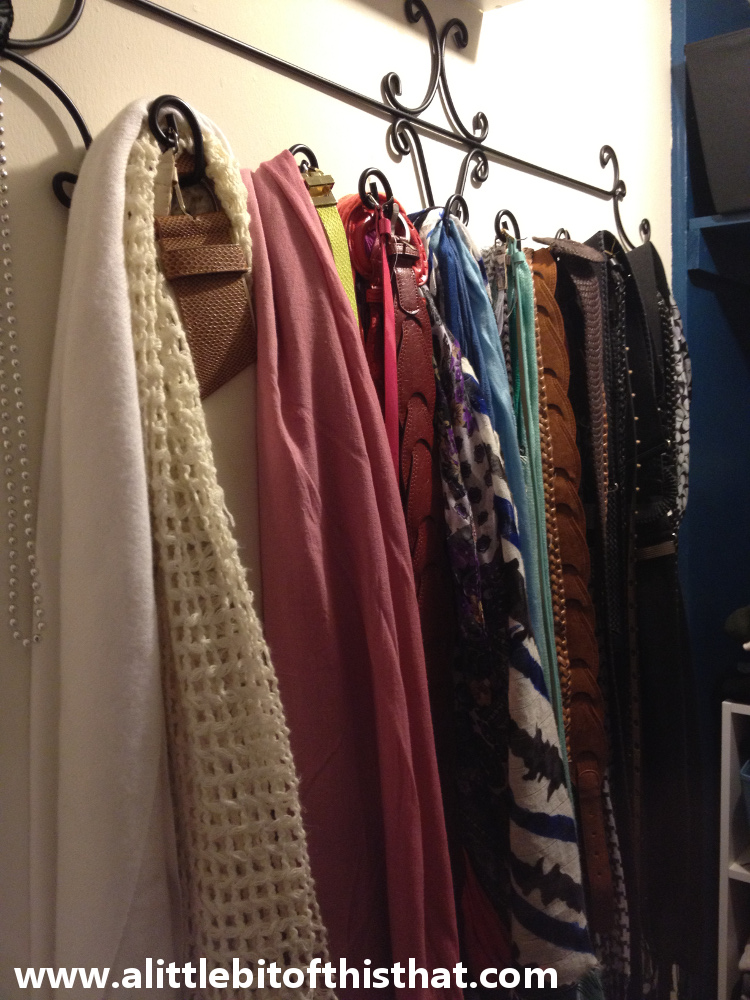
There is something so appealing about an organized rainbow of colors.
3) The way to create a boutique-like feeling is, well, to add boutique-like elements! When you are shopping, there are decorative mirrors, perhaps a chandelier (yes, I got one of those too! See below!) and an appealing color scheme that gives you an instantly-hip mentality that aims to inspire creativity when picking out an outfit. I got these cute bins from Marshalls in teal, black, and paisley. I even got an ottoman (plain black) that can help me reach those items and are stored out of reach without calling a sales associate (hehe).
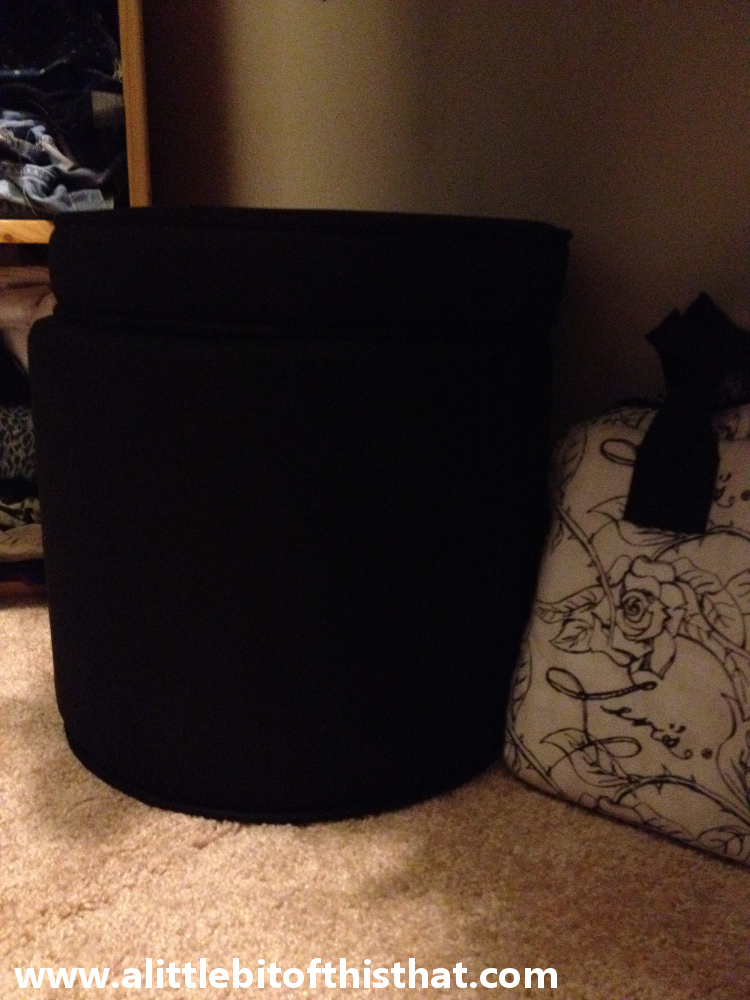
My ottoman for “hard to reach” items. BONUS: there’s room for storage inside!
4) I made myself part with items that I hadn’t used in the past year. It was hard to do, but I was honest with myself and managed to get together three garbage bags worth of giveaway items. It feels great to get some stuff off of my hands, and now I want to get rid of more! A general rule of thumb that I’ve heard of and that I’d like to start following is that whenever you buy something, you have to get rid of something! Usually it’s those items that you question its future as part of your wardrobe every time you do a clean out. For other items that I was questioning, I told myself that if I didn’t wear it in the next WEEK, then it also had to go. Tough love but it worked!
What a great feeling to know that this project is finished. It is now a pleasure of mine to envision an outfit in the morning and enjoy the simplicity of knowing where that item is and grabbing it on the go because everything is organized and in its place. It’s also fun to just step into my boutique, take a look around, and create my outfit for the day.
Oh yeah, there is one thing I haven’t mentioned yet because it isn’t installed – since I need an electrician. But here’s a picture of my mini chandelier that I’d like to hard-wire in. It is smaller than it looks and would obviously hang higher but here’s a simple photo of it.
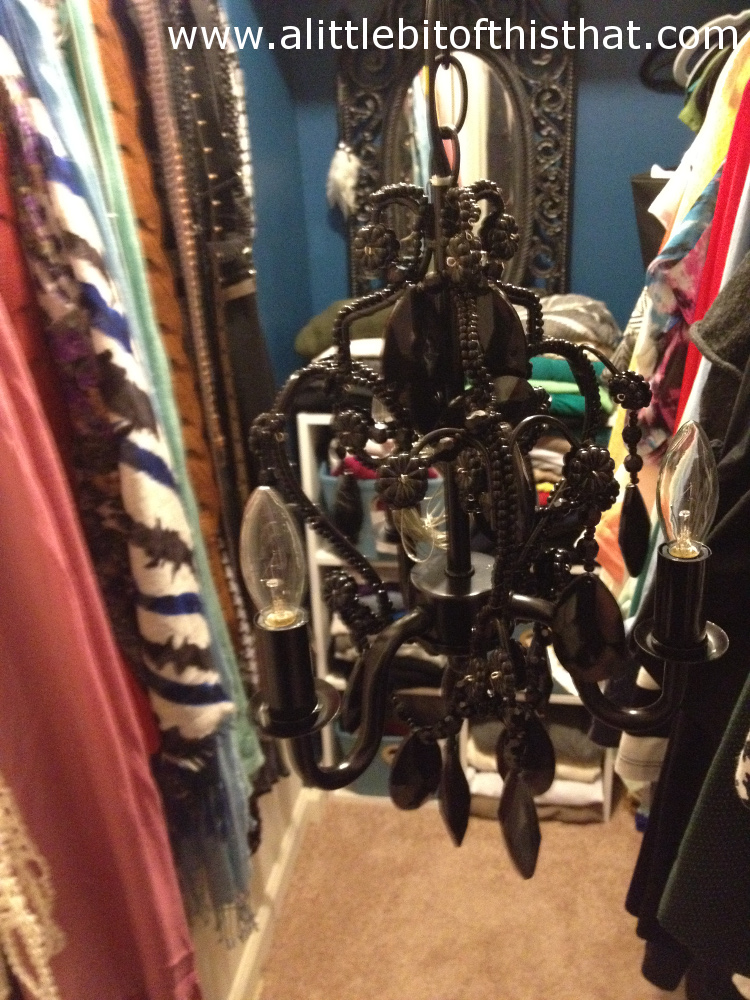
A target.com purchase I just couldn’t refuse!
Do you think it’s too much? haha Let me know below, thanks! 🙂
❤ Jessi