Kohls.
Kohls. Need I say more? That store is so wonderful but so dangerous! A recent trip set me and the man back $309.42, and that was after I looked at the $373 original price and said, “Oh heck, sign me up for the Kohls charge card and give me the dang 20% off today, please!”
Anyway, we are both really happy with our purchases. I got a few really cute LC by Lauren Conrad tops, a set of two bandeau bra tops, two pairs of shorts (one is polka dotted!), a set of two Rock and Republic necklaces, and sunglasses. Patrick got a bunch of shirts and four pairs of shorts. (Did I mention our sole reason for going to Kohls was to get shorts for both of us? Oops.) But out of everything, the purchases that got me most excited were a few pieces of wrist candy I found in the “limited quantities” section. The limited quantity jewelry is 60% off!
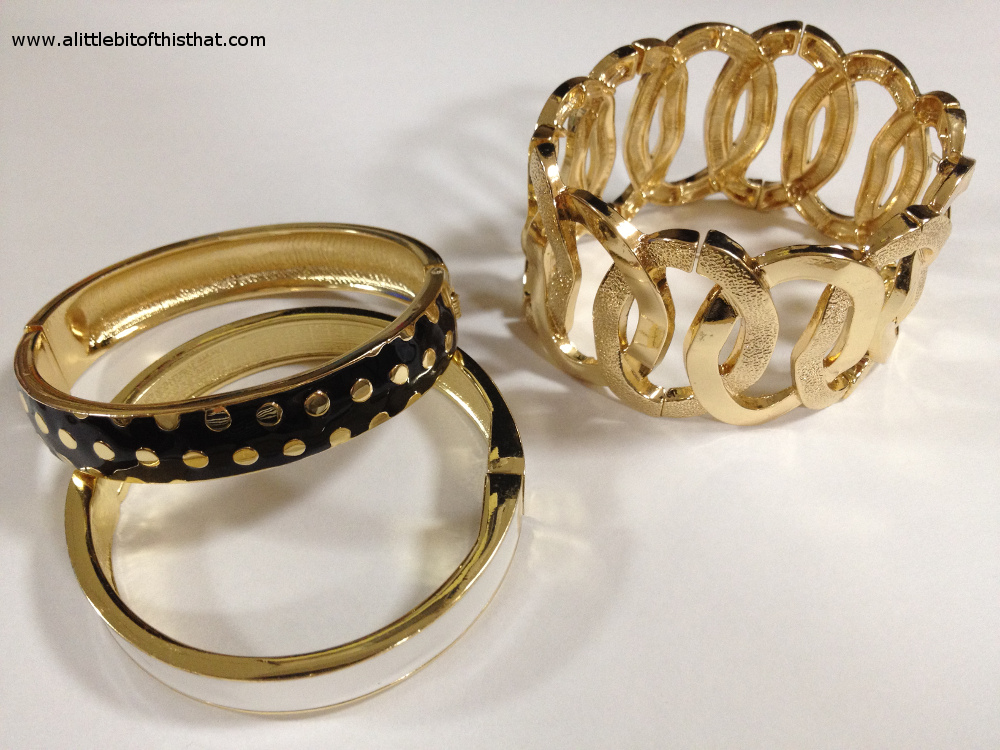
The first piece of jewelry that caught my eye is a gold bracelet that just seemed so versatile. You want a nautical look? Check. Classy look? Check. Egyptian? (LOL) Check. I just loved the piece and the fact that it was stretchy so it fit perfectly. It was labeled at $24 and, yup, with the 60% off it was only $9.60.
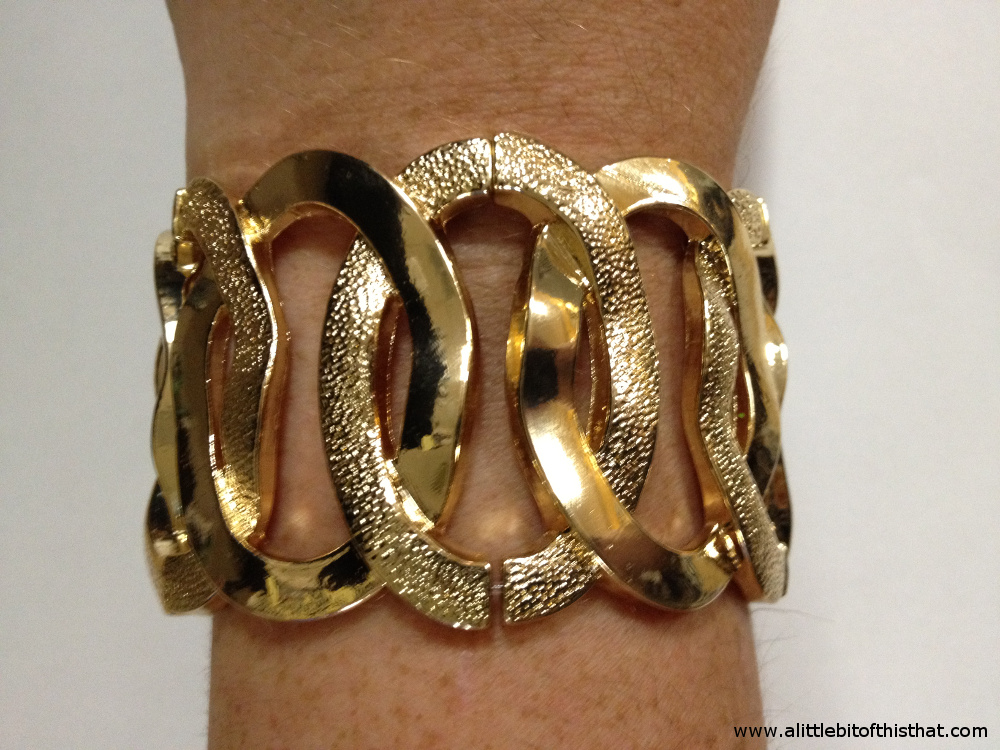
It was love at first sight!!
Honestly, I could have spent hundreds of dollars on the bracelets in the limited quantities section. I wanted them all! They all seemed like they could go together. I couldn’t decide on silver or gold (I always start an outfit with either a gold or silver jewelry theme…) but I knew I had to be choosy. So here are the other two bracelets I ended up with. They were marked $20 each so they ended up being just $8 each.

So classy.
There was just something about these bracelets. They reminded me of Stella and Dot, or Lia Sophia… one of those jewelry companies where one would probably spend about $36 for each of the bangles (not to say I haven’t done it before… haha). Plus I really liked the magnetic/spring loaded closures and oval shape for a better fit than just a normal circular bangle.
Well, thanks for checking out my wrist candy purchases – maybe I’ll get some photos up here of my other items with some original prices and sale prices for you to check out! I can’t wait to wear all of my new stuff!
Have a great day!
❤ Jessi